Informational guide by the ImmoMulti Team. Facts are sourced from the TAT, Éducaloi and the Civil Code of Quebec; this content is not legal advice.
The move-in and move-out inspection of a unit is the most underrated tool a plex landlord has. A simple folder of photos, a signed checklist and, ideally, a witness can make all the difference the day a tenant leaves your multi-unit property on the North Shore with a hole in a wall or a damaged floor. Here is how to document a unit's condition to turn your word into solid evidence before the Tribunal administratif du logement (TAT).
Why document the move-in inspection of a unit?
In Quebec, the move-in inspection is not mandatory — which is exactly what makes it so powerful for those who do it. The Civil Code of Quebec requires the tenant, at the end of the lease, to return the unit in the condition in which it was received, apart from normal wear and tear (article 1890). The problem is obvious: without a record of the condition "in which it was received," how do you prove what changed?
That is the role of the inspection. By capturing the unit's condition when the tenant moves in, then again when they move out, you create an objective point of comparison. Without it, a damage claim at the TAT pits your memory against the tenant's — and the burden of proof falls on whoever is claiming, which is you.
Sources: Civil Code of Quebec, art. 1890 · Éducaloi — housing rights resources.
What the inspection lets you do
- Prove the unit's initial condition, room by room.
- Distinguish real damage from normal wear that is not the tenant's fault.
- Support a TAT claim with dated, consistent evidence.
- Defuse disputes: a tenant who knows they were documented is more careful.
The move-in inspection, step by step
Ideally, carry out the inspection on the day you hand over the keys, before the tenant moves in, in their presence. An empty unit documents far better than a furnished one. Work methodically, room by room, in a fixed order (entrance, kitchen, living room, bedrooms, bathroom, storage, and exterior or common areas where applicable).
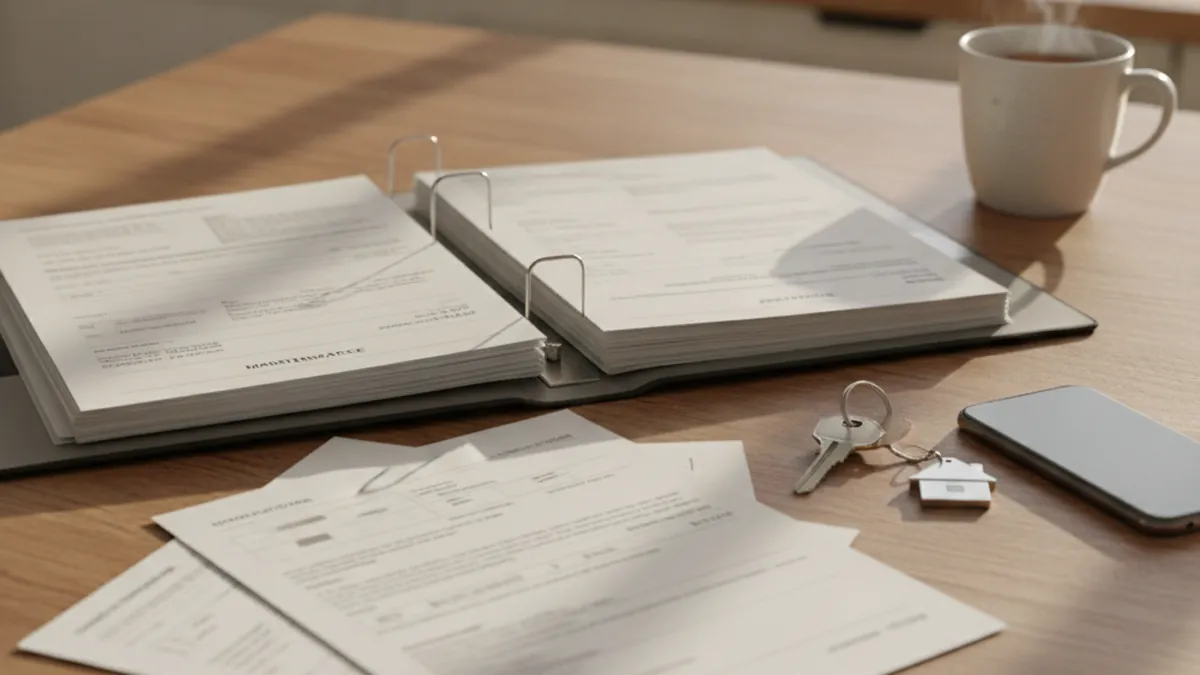
- Prepare a checklist listing each room and each element (walls, ceiling, floor, windows, doors, appliances, plumbing, light fixtures).
- Note the condition of each element precisely: "living room wall: good condition, one 5 cm scuff near the outlet."
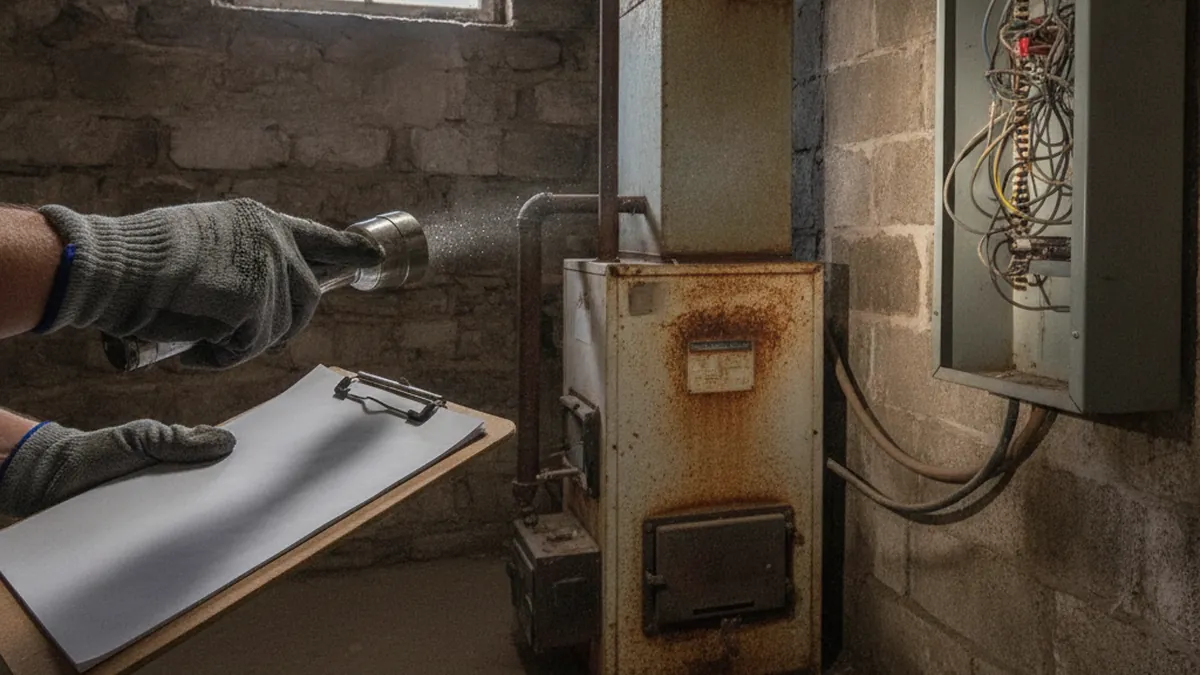
- Photograph or film each room in full, then each defect up close.
- Read the meters and test the equipment (appliances, smoke detectors, faucets).
- Sign and date the checklist with the tenant, and give them a copy.
The 3 evidence pillars: photos, checklist, witness
An inspection that holds up rests on a bundle of evidence, not on a single element. The more your proofs corroborate one another, the harder they are to challenge.
| Pillar | How to do it well | Trap to avoid |
|---|---|---|
| Photos / video | Timestamped, each room in full then each defect up close; narrated video with the date spoken aloud. | Blurry, undated photos, or a single detail with no context. |
| Written checklist | Room by room, precise descriptions, dated and signed by both parties, a copy given to the tenant. | Vague entries ("good condition" everywhere) with nothing verifiable. |
| Witness | A neutral person (not your spouse) who observes the condition and can testify if needed. | No witness, or one so close their credibility will be challenged. |
Think, too, about what you will do with this evidence: it only has value if you keep it durably. Back up photos, videos and the signed checklist in several places (cloud, drive, email to yourself) and keep them for the entire lease, plus at least three years after the tenant leaves.
Move-out inspection and normal wear and tear
At the end of the lease, repeat exactly the same exercise, with the same checklist and the same room order, with the tenant present if possible. The move-in/move-out comparison reveals what changed. That leaves the crucial question: is it damage or simply normal wear and tear?
| Normal wear (not chargeable) | Damage (chargeable to the tenant) |
|---|---|
| Paint faded by time and light | Holes, graffiti or major marks on walls |
| Floor slightly dulled by foot traffic | Deeply scratched, burned or stained floor |
| Silicone joints yellowed with age | Mould from repeated lack of ventilation |
| Small frame or screw holes | Broken appliances, smashed doors, forced locks |
This distinction is at the heart of every dispute. A landlord cannot claim the cost of a full repaint because the paint has aged: that is normal wear. But they can claim the repair of a smashed wall — provided they prove, thanks to their move-in inspection, that the wall was intact at the start. For the next step of a claim, our guide on tenant-caused damage and insurance claims lays out the concrete steps.
What is the evidentiary value of the inspection at the TAT?
Before the Tribunal administratif du logement, no rule imposes a particular inspection format — but the tribunal freely assesses the evidence submitted to it. In practice, a complete file (signed checklist + timestamped photos + witness) carries clearly more weight than a verbal claim or a few isolated photos taken after the fact. The TAT publishes guidance on evidence that values dated, consistent documents.
The burden of proof is on you
It is the landlord making the claim who must prove the damage and its extent. Without a move-in inspection, you start at a heavy disadvantage: the tenant only has to assert that the defect was already there. A documented file reverses that dynamic.
The link to the lease also matters: maintenance and return-of-condition obligations flow from the TAT lease. Understanding that document well helps you frame your expectations; on that note, our article on mandatory tenant notices and legal deadlines is a useful companion to the inspection process.

Common mistakes to avoid
- Documenting nothing at move-in. The costliest mistake: with no starting point, no comparison is possible at move-out.
- Photos with no date or context. A lone photo of a hole does not prove when it appeared. Favour timestamps and wide shots.
- A checklist that is too vague. "Good condition" everywhere proves nothing. Describe each existing defect, however minor.
- Not having the tenant sign. A jointly signed inspection is worth far more than a document only you know about.
- Confusing wear with damage. Claiming a repaint for aging paint undermines the credibility of your entire claim at the TAT.
- Destroying evidence too soon. Keep the move-in inspection for at least three years after the tenant leaves.
Bottom line for the plex landlord
The inspection costs almost nothing and protects you for thousands of dollars. Document at move-in, repeat the exercise at move-out, lean on the three pillars — timestamped photos, signed checklist, neutral witness — and keep it all. If you manage several units in a multi-unit property on the North Shore, systematize this habit: it is the best insurance against end-of-lease disputes. And if property management weighs on you, know that ImmoMulti buys North Shore plexes directly, lease file and inspection in hand.